HTTP(s) monitors
HTTP(s) monitors send an HTTP GET request to a URL and check the response.
How it works
- Vantaj opens a connection to the host
- Sends
GET <url> HTTP/1.1 - Waits up to 10 seconds for a response
- Records the result:
- Up — any
2xxor3xxstatus code within 10s - Degraded — response received but unusually slow
- Down — connection refused, timeout, DNS failure, or
4xx/5xxstatus
- Up — any
URL format
Enter the full URL including scheme:
https://api.example.com/health
https://example.com
http://internal-service:8080/ping
Both http:// and https:// are supported. For HTTPS endpoints, the TLS certificate is validated — an expired or invalid certificate will cause a Down result.
Redirects
HTTP redirects (301, 302, 307, 308) are followed automatically up to 5 hops. The final destination's status code determines the check result.
Tips
- Use a dedicated
/healthor/pingendpoint that returns200quickly without hitting your database - Avoid checking URLs that require authentication headers — the checker sends no
Authorizationheader - For APIs behind a CDN, the check hits the CDN edge, not your origin directly
Adding a New Monitor
Here's a walkthrough of creating an HTTP monitor in Vantaj:
When you create a new monitor, you'll configure the following settings:
URL
The full endpoint URL including scheme (https:// or http://). This is the address Vantaj will check on every interval. Use a health check endpoint like /health or /status when possible — these are designed to return quickly and verify core dependencies.
Friendly Name
A human-readable label that appears in your dashboard, alerts, and status pages. Use something descriptive like "Production API" or "Marketing Site" rather than the raw URL.
Check Interval
How often Vantaj checks your endpoint. Available intervals depend on your plan:
- 30 seconds — For business-critical services where every second of detection speed matters
- 1 minute — The sweet spot for most production services
- 2 minutes — Good for secondary services and staging environments
- 5 minutes — Suitable for low-priority or internal tools
Shorter intervals mean faster detection but consume more of your monitor quota.
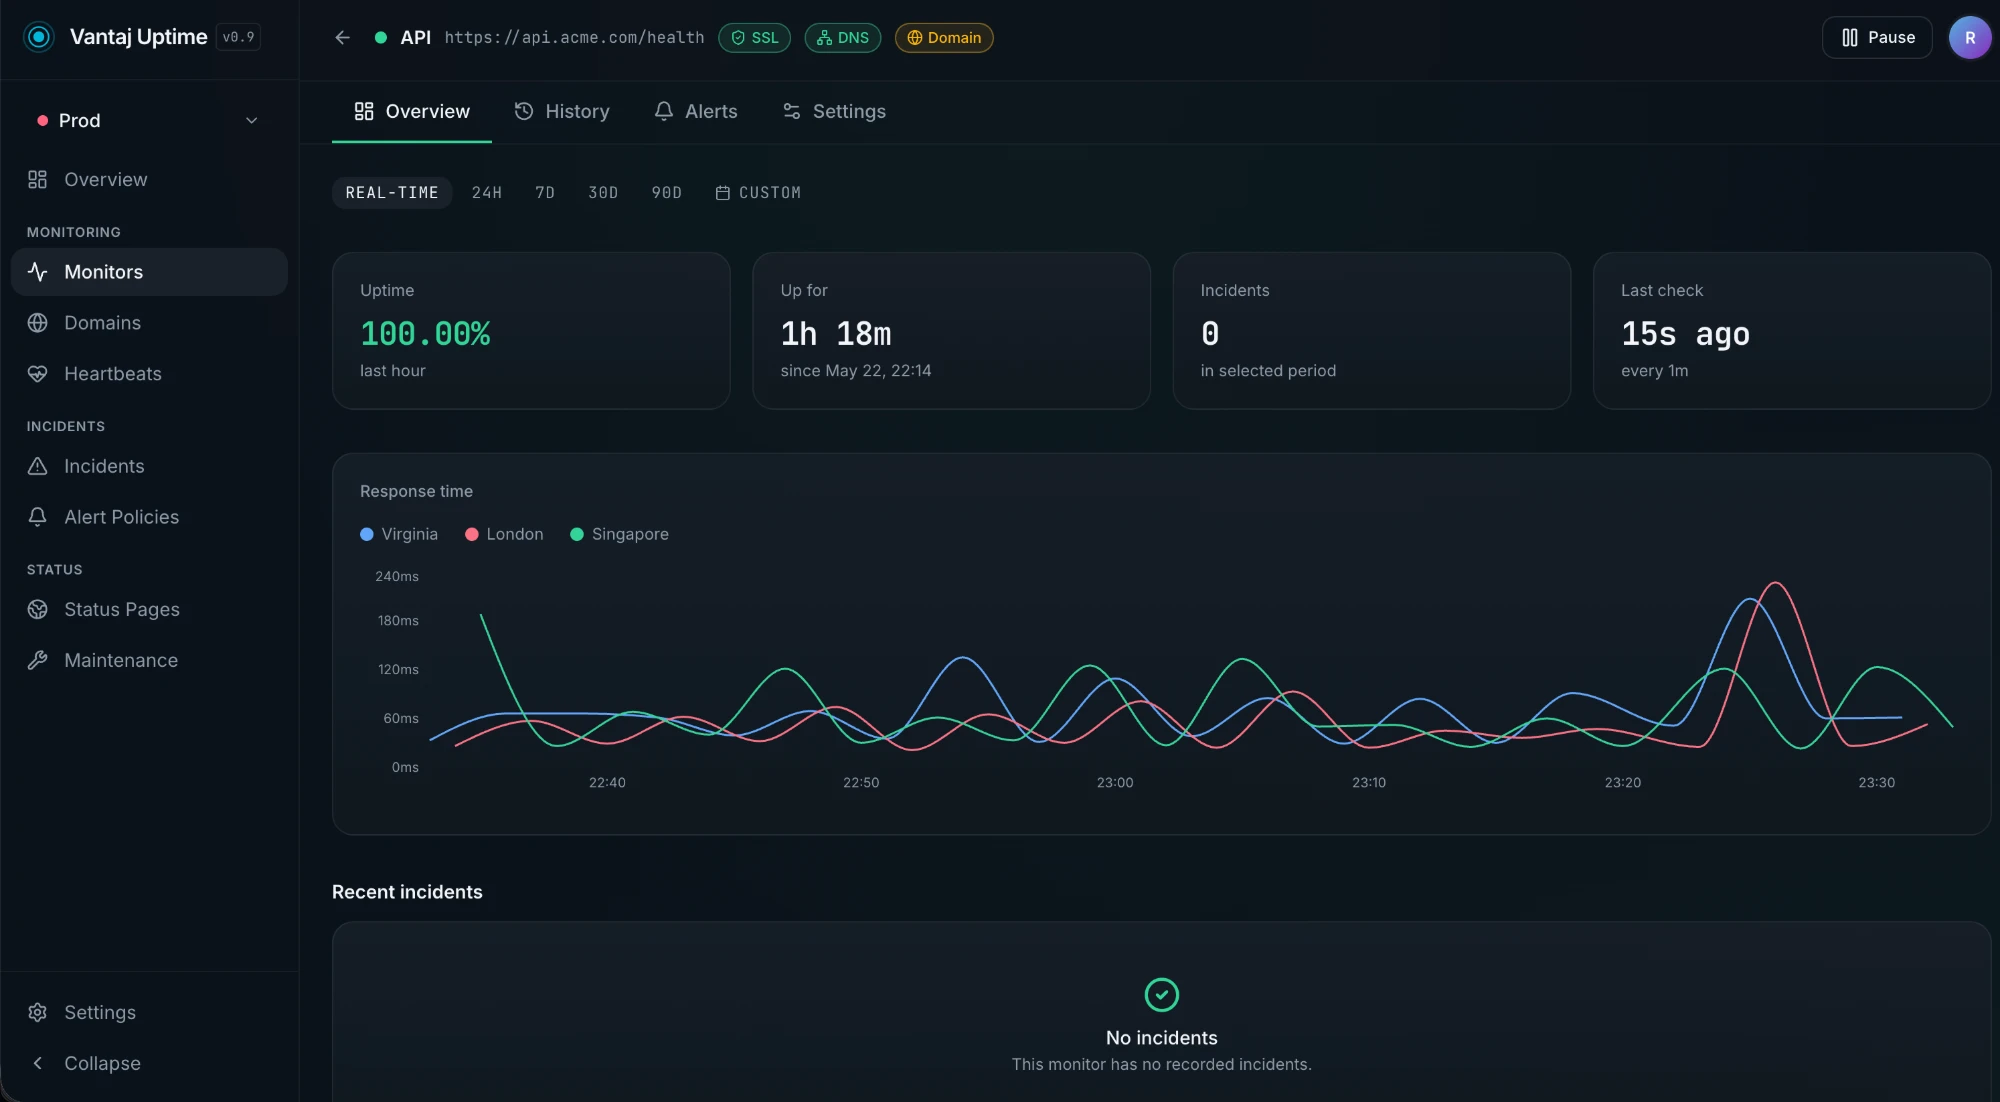
Check Regions
Vantaj checks from multiple global regions simultaneously. You can choose which regions are active for each monitor:
- US East (Virginia)
- EU West (Frankfurt)
- AP Southeast (Singapore)
When a check fails from one region, Vantaj re-verifies from the other configured regions before opening an incident. This multi-region consensus approach eliminates false positives caused by regional network issues. We recommend keeping at least two regions enabled for accurate results.
Expected Status Code
By default, Vantaj treats any 2xx or 3xx response as "up." You can override this to expect a specific status code:
- 200 — The most common expectation for health endpoints
- 301/302 — If you're specifically monitoring a redirect
- 401/403 — If you're verifying that authentication or access control is enforced
This is useful when you want to confirm that a protected endpoint is returning the correct access-denied response rather than being accidentally open.
Request Timeout
The maximum time Vantaj waits for a response before marking the check as failed. The default is 10 seconds, which works for most endpoints. You can lower it for fast APIs (3–5s) or raise it for endpoints that do heavier processing.
Request Method
Choose the HTTP method for the check:
- GET — The default, suitable for most health checks and pages
- POST — For endpoints that only respond to POST requests
- HEAD — Lighter than GET since the server doesn't return a body
- PUT / PATCH / DELETE — Available for specialized API monitoring
Request Headers
Add custom headers to the check request. Common use cases:
- Authorization — Send a Bearer token or API key to monitor authenticated endpoints
- Content-Type — Required for POST requests with a body
- Accept — Specify the expected response format
- Custom headers — Any header your application expects (e.g.,
X-API-Key)
Request Body
For POST, PUT, and PATCH requests, you can include a request body. This is useful for monitoring endpoints that expect specific payloads, such as API health checks that accept JSON input.
Keyword Validation
Check that the response body contains (or doesn't contain) a specific string. This catches cases where the server returns 200 but the content is wrong — for example, a load balancer serving an error page or a CDN returning stale content.
- Should contain — Alert if the keyword is missing from the response
- Should not contain — Alert if the keyword is found in the response
Alert Policy
Assign the monitor to an alert policy that controls who gets notified and how. Alert policies define:
- Which notification channels receive alerts (email, Slack, Discord, webhooks)
- Escalation rules for unacknowledged incidents
- Grouping and severity settings
If you don't select a policy, the monitor uses your default alert configuration.
Project and Groups
Organize the monitor into a project and optionally a group within that project. This keeps your dashboard clean as you scale:
- Projects — Top-level organizational units (e.g., per client, per product, per environment)
- Groups — Sub-categories within a project (e.g., "API," "Frontend," "Infrastructure")
Tags
Add tags for filtering and organization. Tags are freeform labels you can use however you like — by environment (production, staging), by team (backend, platform), or by priority (critical, low).
Status Page
Optionally connect the monitor to one or more status pages. When this monitor goes down, the status page updates automatically to reflect the incident.